To create and send a custom email you can watch this video tutorial or follow the step-by-step guide below the video:
Video:
Steps:
1. Navigate to the Marketing tab

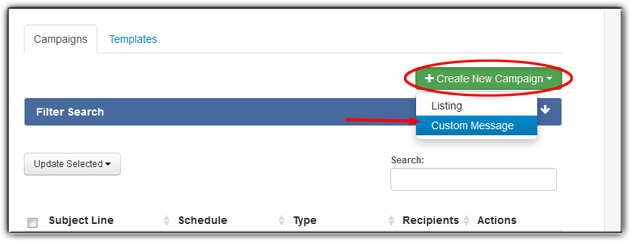
2. Click Create New Campaign and select Custom Message from the drop down menu
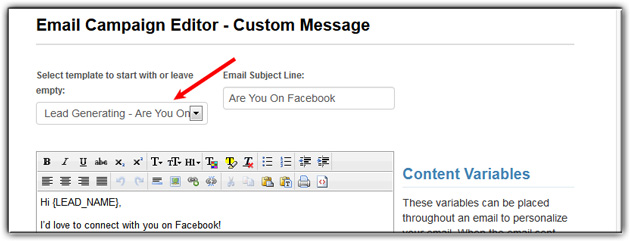
3. Select a template or leave blank
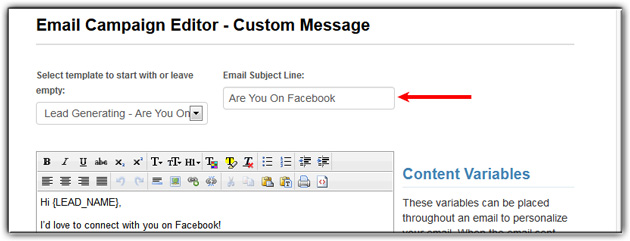
4. Enter your Email Subject Line
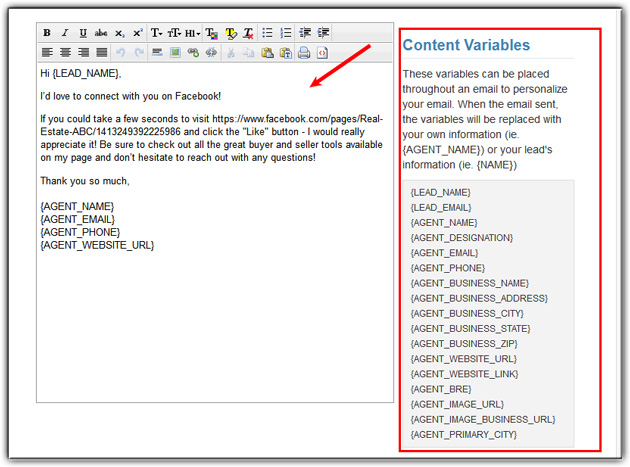
5. Write or edit the content of the email, feel free to make use of the Content Variables
| – Numbering | |
| – Outdent | |
| – Indent | |
| – Align Text Left | |
| – Center | |
| – Align Text Right | |
| – Justify | |
| – Undo | |
| – Redo | |
| – Insert Horizontal Rule | |
| – Insert Image | |
| – Insert Hyperlink | |
| – Remove Hyperlink | |
| – Cut | |
| – Copy | |
| – Paste | |
| – Paste as Text | |
| – Show Source |
6. Select your recipients

7. Select the date you would like the email sent, then click Add
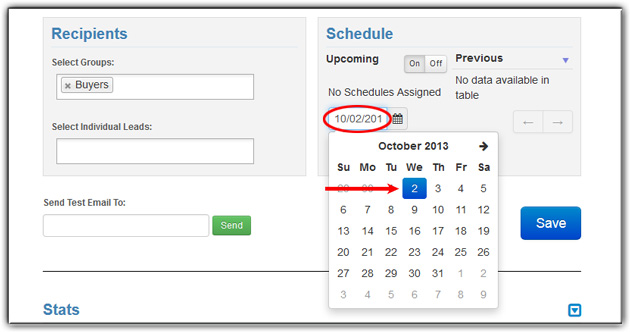
9. Click Save

Last Update: June 12, 2019