1. Navigate to the Website tab

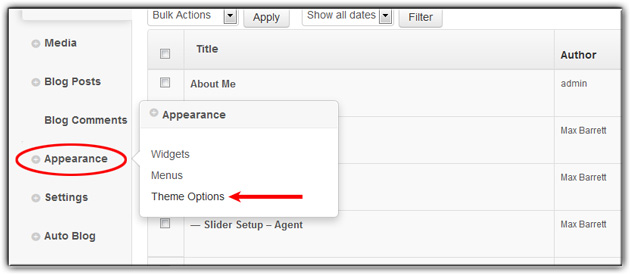
2. Hover over Appearance and click on Theme Options
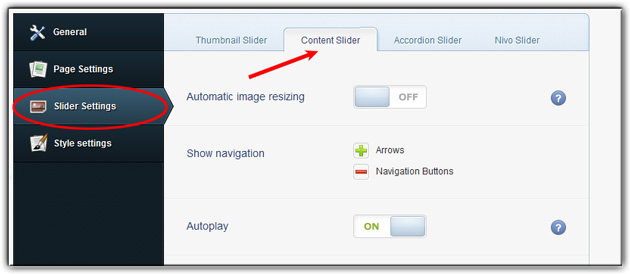
3. Click on Slider Settings and select Content Slider from the tabs across the top
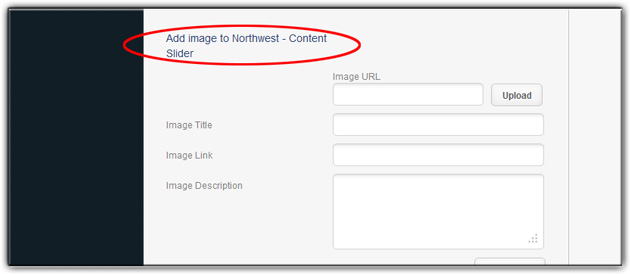
4. Choose the slider category that is most relevant to your local area (or choose your own if you made a custom slider) and go to the Add Image field
5. Click Upload and select your agent photo or logo from your computer
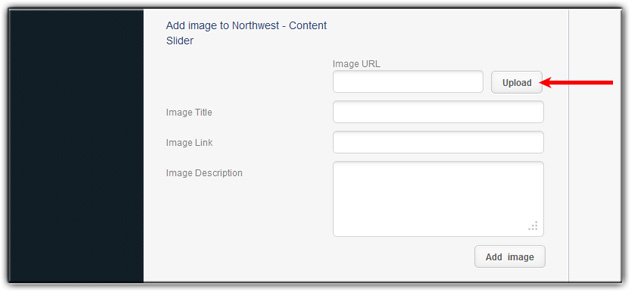
6. Type your caption into the Image Title form
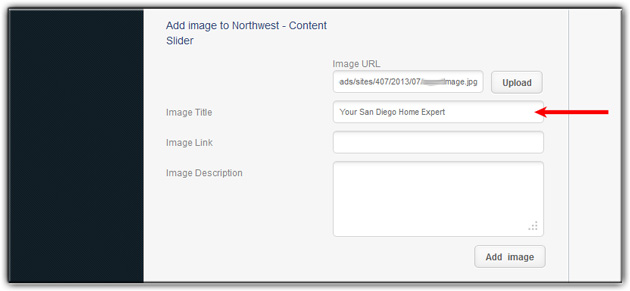
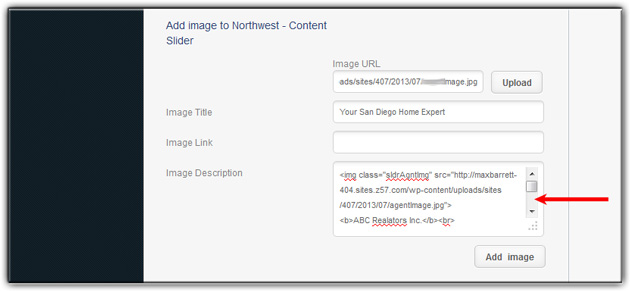
7. In Image Description copy and paste the HTML below, then update the sections in red
<img class=”sldrAgntImg” src=”http://template-404.sites.domain.com/wp-content/uploads/sites/407/2013/07/agentImage.jpg“>
<b> ABC Realators Inc.</b><br>
555-123-4567 x5<br>
<a style=””color:#FFFFFF;” href=””mailto:myemail@domain.com“>myemail@domain.com </a><br>
12345 Main St., Suite 3<br>
San Diego, CA 92121<br>
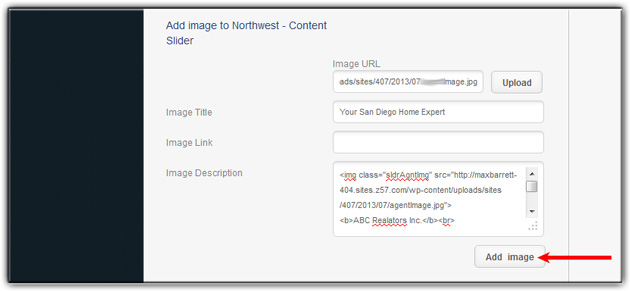
8. Click Add image
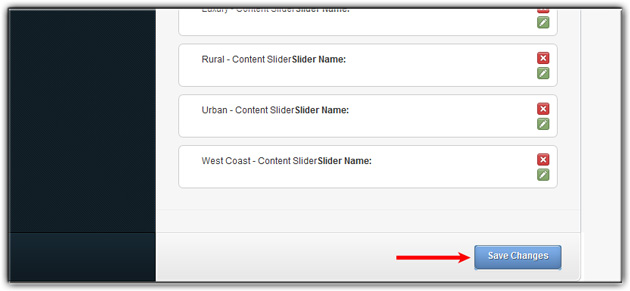
9. At the bottom of the page click on Save Changes
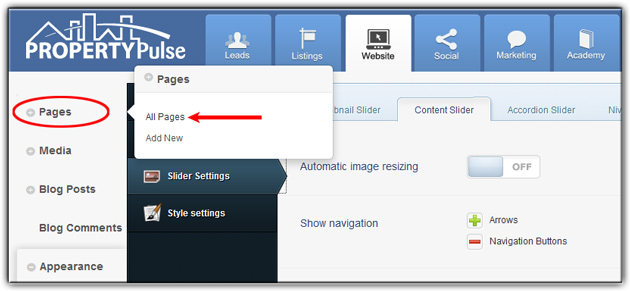
10. Hover over Pages and then click on All Pages
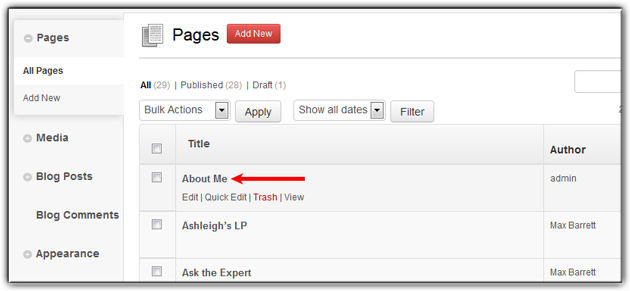
11. Find the page you want to add slider to and click on the page title
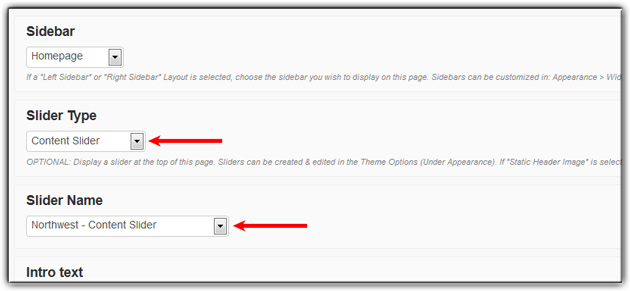
12. Scroll down the page until you find the Slider Type and Slider Name drop downs. Change slider type and name to match the slider you just created
13. Click Update
Last Update: June 11, 2019