- Navigate to the Website tab

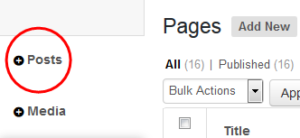
- Hover over Posts
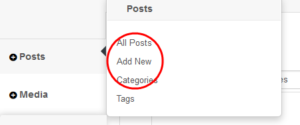
- Click Add New
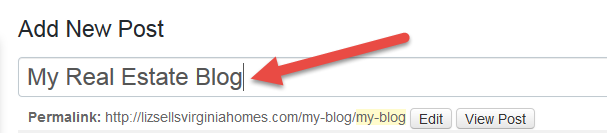
- Enter the title of your post in the “Enter title here” field.
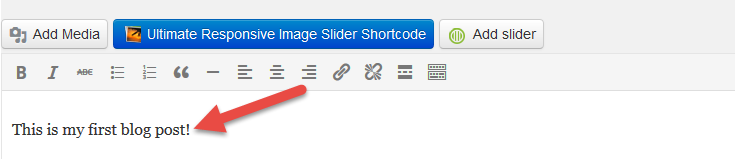
- Add your content to the next, larger field
- Click the blue Publish button on the right

- Optional (Categories, Tags, Featured Image):
- Categories:
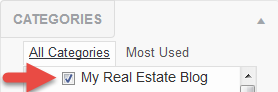
- Locate the Categories section in the right sidebar
- Check the box next to the category that apply to your blog post

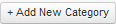
- You can create a new category by clicking the + Add New Category button
- Fill in the blank field
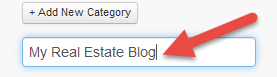
- Click the Add New Category button

- The new category will be checked automatically
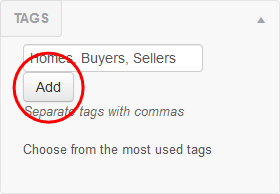
- Tabs:
- Locate the Tags section in the right sidebar
- Fill in the field with tags that apply to your blog post
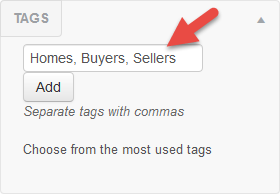
- Click the Add button
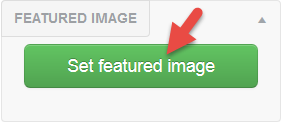
- Featured Image:
- Locate the Featured Image section on the right sidebar
- Click the green Set Feature Image button
- Locate and select an image
- Click the blue Set Feature Image button

- Click the blue Publish button on the right
- Categories:


Last Update: June 12, 2019